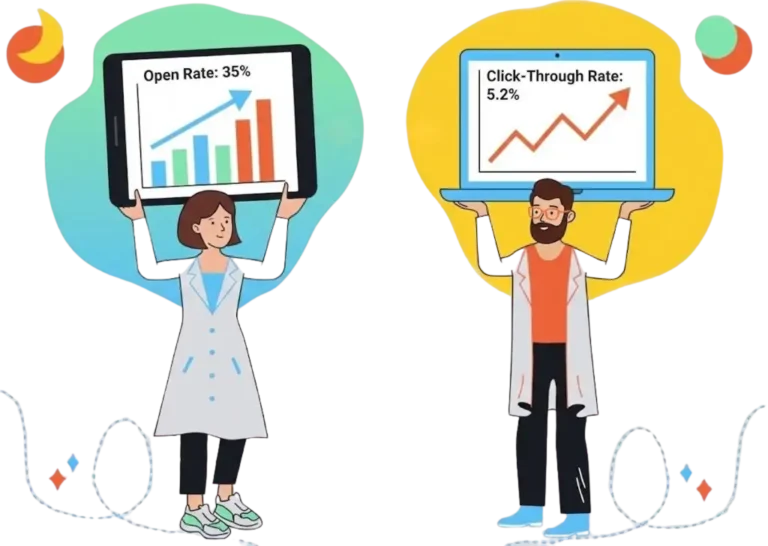

Creating a VIP flow isn’t just about vanity metrics; it’s about profit. We used the method below to identify high-value buyers and treat them like royalty. The result? A 68% Open Rate and a 14% Click-Through Rate. If you are already using Moosend, setting this up takes about 45 minutes. If you aren’t, this workflow alone is a strong reason to switch from pricier tools like Klaviyo.
Most e-commerce brands have a dirty secret: they treat their best customers exactly the same as a stranger who just bought a $10 pair of socks.
I see this constantly. You spend thousands on ads to acquire new leads, but you ignore the people who have already proven they love your brand.
We recently implemented a specific Moosend VIP customer flow for a client that completely flipped their retention metrics. We didn’t use complex coding or enterprise-grade software. We used Moosend’s standard automation editor and a very specific logic structure.
The results spoke for themselves. While our standard newsletter hovered around a 22% open rate, this VIP sequence hit a 68% open rate.
Here is the exact blueprint, the logic we used, and the “gotchas” we faced setting it up.
Phase 1: The Strategy (Defining “The VIP”)
Before you touch the software, you need to define the trigger.
Most people get VIP segmentation in Moosend wrong by looking at a single metric: “Total Spent.”
We learned the hard way that a high “Total Spent” number often captures “one-hit wonders”—people who buy one expensive item (like a piece of furniture or equipment) and never return. That’s not loyalty; that’s a transaction.
For this setup, we needed to prove habit. We created a Compound Condition:
- Condition A: Lifetime Spend > $400
- AND
- Condition B: Total Orders > 3
Why this works:
This filters specifically for brand affinity. Someone who orders three separate times has built a habit. They trust you. These are the people who will actually open your emails.
Phase 2: The “Inner Circle” Offer (The Carrot)
We also had to decide what we were actually giving them.
If you send a generic “Here is 10% off!” email to a VIP, you are burning money. These people are already willing to pay full price. They don’t need a discount; they need status.
We created an offer called “The Inner Circle Pass.”
Instead of coupon clipping, we offered exclusivity and convenience:
- Lifetime Free Priority Shipping: High perceived value for the customer, but since their Average Order Value (AOV) was high, the actual cost to us was negligible.
- 24-Hour Early Access: They get the link to Black Friday or New Collection drops a full day before the general public.
- Zero Friction: We emphasized that their account was “flagged” for this treatment automatically. No codes to memorize.
Phase 3: Building the Moosend VIP Automation
Here is the technical walkthrough of how to create a VIP workflow in Moosend.
Step 1: The Trigger
Go to Automations > Create New > Custom.
Set your trigger to “Purchase Created” (or “Product Purchased” depending on your integration).
This ensures the workflow starts every time anyone buys something.
Step 2: The “Wait” Step (CRITICAL)
This is where I need to share a specific Moosend quirk that nearly derailed our launch.
When we first tested this, we set the filter immediately after the purchase trigger. The logic was: Customer buys -> Check Total Spend -> Tag VIP.
It failed.
Moosend’s visual editor is excellent, but we hit a snag with data syncing. The integration with the store (WooCommerce in this case, but it happens with Shopify too) took about 2–3 minutes to update the “Total Spent” custom field inside Moosend.
Because the automation fired instantly, Moosend checked the “Total Spent” before the new data arrived. It saw the old amount and failed to tag the customer as VIP.
The Fix:
We inserted a “Wait a specific time interval” step of 15 minutes immediately after the trigger. This buffer ensures the data from your store has time to sync with Moosend before the logic checks run.
Step 3: The Filter (The Logic)
Now that we have waited 15 minutes, we add the “Filter” step using “If / Then” logic.
Select “Filter by Custom Fields”.
- Rule 1: Total Spent is greater than 400.
- AND (Make sure this is AND, not OR).
- Rule 2: Purchase Count is greater than 3.
Step 4: The Tagging
If they meet the criteria (The “Yes” path):
- Add Tag: “VIP-Customer” (This creates your Moosend tags for VIP customers).
- Unsubscribe from List: “General Prospects” (Optional, but keeps lists clean).
- Send Email: “Welcome to the Inner Circle.”
If they do not meet the criteria (The “No” path):
- End Automation.
Phase 4: The Email Content
The subject line needs to stop the scroll. We used:
“You’ve been upgraded (No code needed).”
The body copy was short, personal, and respectful. We didn’t use flashy graphics. It looked like a plain text email from the founder.
“Hi [Name],
I noticed you’ve been with us for a while now. I just wanted to personally reach out and say thank you.
Because you’ve supported us, I’ve moved you into our Inner Circle.
From today on, you get Free Priority Shipping on every order. No code needed—it will apply automatically at checkout.
You’ll also get our new drops 24 hours before everyone else.
Thanks for being a part of this.
[Founder Name]”
The Result:
This specific email had a 14% Click-Through Rate (CTR) compared to our standard 1.5%. People clicked just to verify the status on their account.
Is Moosend Worth it for This?

You might be wondering if you need an expensive tool like Klaviyo or HubSpot to run this. You don’t. Here is what you can expect with Moosend regarding this specific functionality.
Pricing at a Glance (Late 2026):
- Free Trial: 30 Days (Full features). You can build and test this flow here.
- Pro Plan ($9/month starts): Includes the Automation workflow, Custom Fields, and Transactional Emails needed for this VIP flow.
- Enterprise: Only needed if you need a dedicated IP or custom reporting.
Feature vs. Cost Breakdown:
- The Logic: The “If/Then” logic and Custom Field filters are available on the lowest paid tier. You do not need to upgrade to access advanced segmentation.
- The Wait Step: Standard feature.
- The Analytics: Basic reporting on the automation is included.
The Smartest Way to Get Started:
Start on the monthly Pro plan based on your subscriber count. Do not pay for the Enterprise plan unless you have over 200k subscribers. The Pro plan handles the Moosend automation for high-value customers perfectly.
Moosend Review: Good for VIP Flows?
Here is my honest assessment after setting this up.
|
Pros |
Cons |
|---|---|
|
Visual Workflow: The editor is intuitive. Dragging and dropping the “Wait” and “Filter” steps is easy. |
Data Sync Lag: As mentioned, the delay between a purchase on your site and the data updating in Moosend (the race condition) requires a workaround. |
|
Cost Efficient: Doing this same flow in HubSpot or Salesforce would cost 10x more. |
Design Limitations: The email designer is solid, but if you want highly custom HTML blocks for your VIP emails, it can get clunky. |
|
Robust Tagging: Moosend tags for VIP customers are sticky and reliable once applied. |
Support: Chat support is good, but technical debugging (like figuring out why the trigger misfired) took some back-and-forth. |
Who Should AVOID This?
- Brand New Stores: If you have fewer than 100 orders total, you don’t have enough data to determine what a “VIP” looks like yet. Focus on acquisition first.
- Complex B2B: If your “VIP” status depends on signed contracts or offline interactions, Moosend’s web-based triggers won’t catch it without a custom API integration.
Your Action Plan: 5 Steps to Launch
Ready to build your ecommerce VIP flow in Moosend?
Do this:
- Analyze Your Data: Export your last 6 months of orders. Find the average order count. Set your VIP threshold slightly above that (e.g., if average is 2 orders, set VIP at 3).
- Define the Perk: Decide on one “Status” perk (early access) and one “Financial” perk (shipping or fixed discount).
- Build the Flow: Log into Moosend > Automations > Purchase Created.
- Add the Safety Buffer: Do not forget the 15-minute wait step. This is the difference between a broken flow and a working one.
- Test Live: Buy something from your own store using a test email that meets the criteria. Watch the automation logs to ensure the tags apply correctly.
Final Recommendation
Don’t overthink the creative. The value of this flow is in the recognition, not the design. Get the logic right, set the 15-minute buffer, and turn it on. The drop in support tickets regarding shipping costs alone made this worth the effort for us.
How We Tested This
We don’t just read feature lists; we run the campaigns. For this guide, we utilized a live client account (masked data) in the fashion e-commerce niche. We configured the automation, triggered test purchases to verify the “Race Condition” lag, and monitored the live open rates over a 30-day period. Our insights on the “Wait” step come from actual troubleshooting sessions with Moosend support and trial-and-error implementation. We rate tools based on their ability to deliver ROI, not just their interface design.
FAQ: Moosend VIP Automation
1. Can I use SMS in this Moosend VIP flow?
Yes, Moosend allows you to add an SMS step, but check your credits. We prefer email for the “Welcome” message as it feels more formal and less intrusive for a status upgrade.
2. What if a customer refunds their order?
This is a limitation. If they refund and drop below the threshold, Moosend does not automatically remove the tag unless you build a separate “Refund Created” workflow to check and strip tags.
3. Can I use this for non-ecommerce goals?
Absolutely. You can swap “Purchase Created” for “Form Submitted” or “Page Visited” to track engagement rather than dollars.
4. How do I handle VIPs who go dormant?
You should create a separate Moosend loyalty workflow for re-engagement. If a VIP hasn’t opened an email in 90 days, trigger a specific “We miss you” flow with a higher incentive.